Step 3 - Backup Files - macOS
How to create a File backup on macOS in a few simple steps
Choose your operating system:
| Windows | macOS | Linux(GUI) | NAS |
Step1
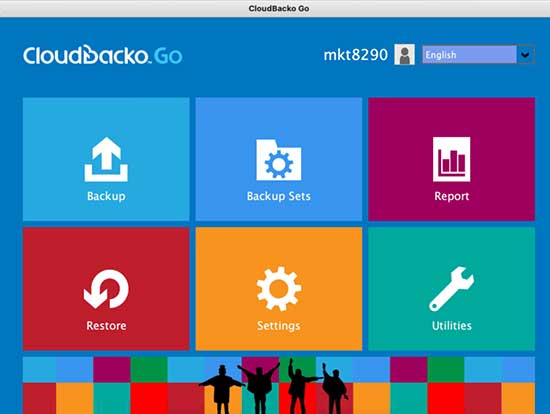
1. After login to Cloudbacko Go, click on the Backup Sets tile.
Step2
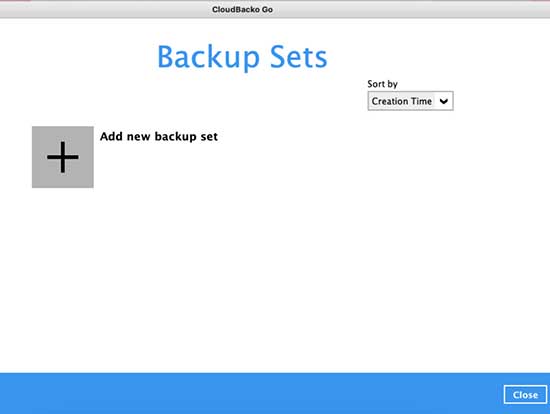
2. Click on the “+” to add new backup set
Step3
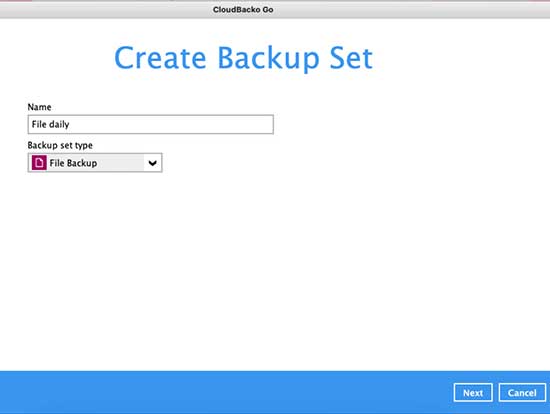
3. Enter the backup name, i.e. "File daily". Select backup set type File Backup.
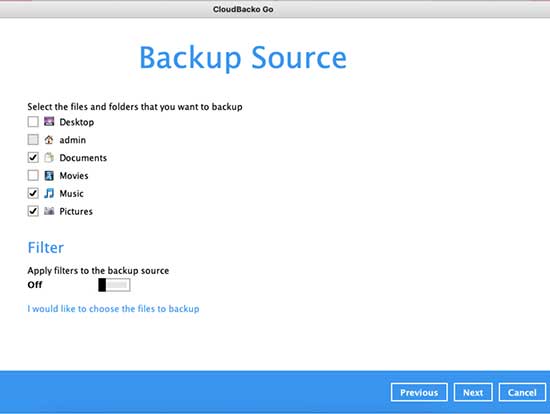
Step4
4. Select the files you wish to backup, i.e. Documents, Music, and Pictures. Click Next to continue.
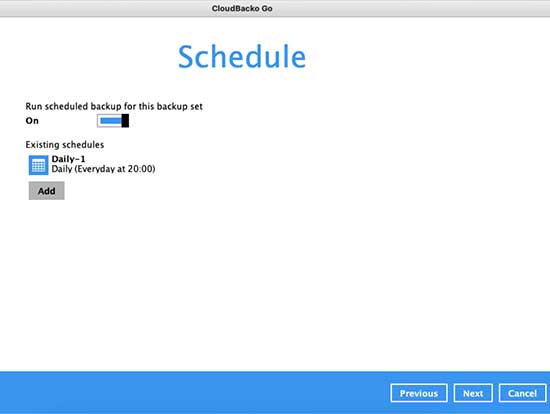
Step5
5. Create an automatic backup schedule, i.e. 20:00 daily and click Next to continue.
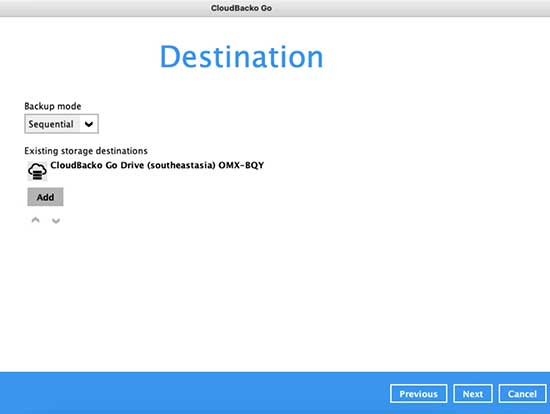
Step6
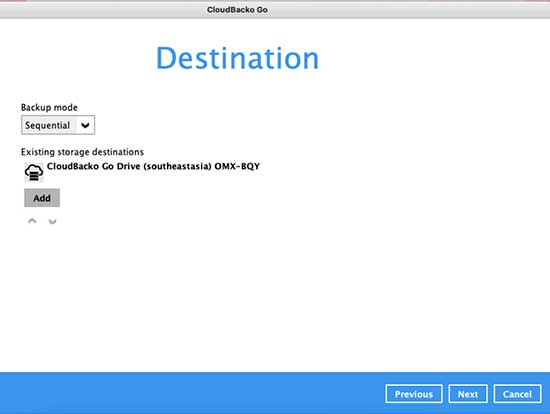
6. Select a storage destination, i.e. CloudBacko Drive. Click Next to continue.
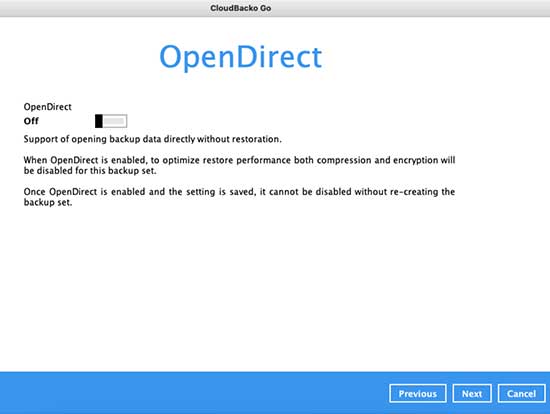
Step7
7. Use the default setting "Off" (feature not supported on macOS).. Click Next to continue.
Step8
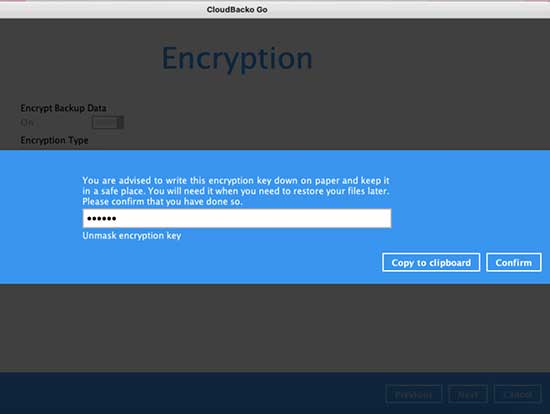
8. Use the default Encryption setting and click Next to continue.
Step9
9. Click Confirm to continue.
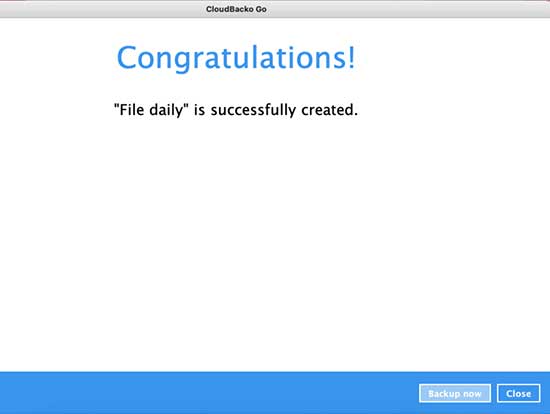
Step10
10. Backup set is created.
Click on Backup now to start a backup job or wait for the automated backup to start.