Step 1 - Install CloudBacko
The first step to get started is to download and install CloudBacko onto your computer or NAS. Please follow the instructions below to do so.
Select your operating system
- Windows
- macOS
- Linux (rpm)
- Linux (deb)
- QNAP
Install CloudBacko to Windows
-
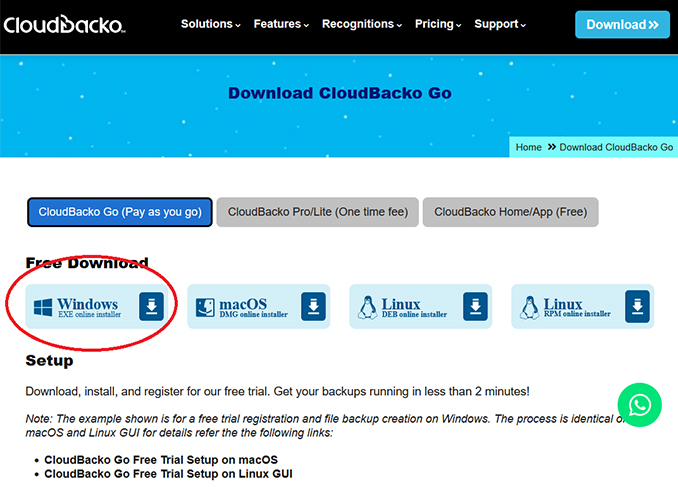
Click the "Download >>" button on top of this page to download the Windows installer.
-
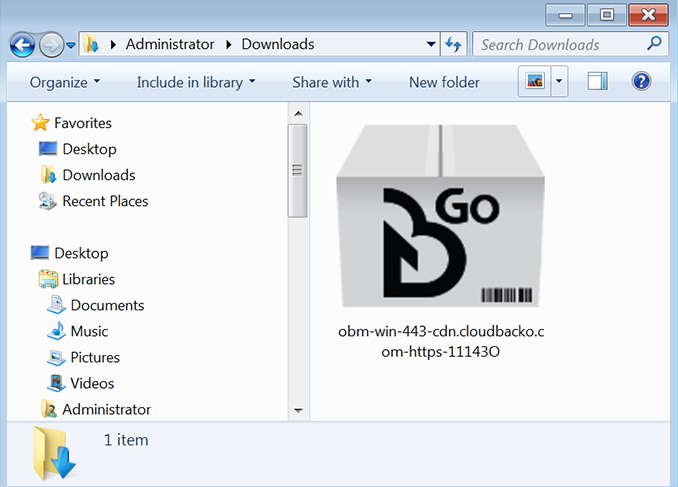
Double-click the obm-win-443-cdn.cloudbacko.com-https-11143O.exe file.
-
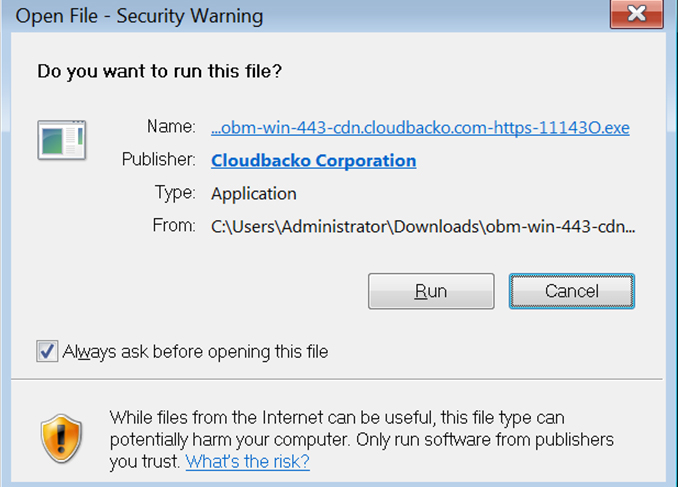
This dialog box will only appear if Windows User Account Control (UAC) is enabled on your machine. Enter your password and click [Yes] to continue.
-
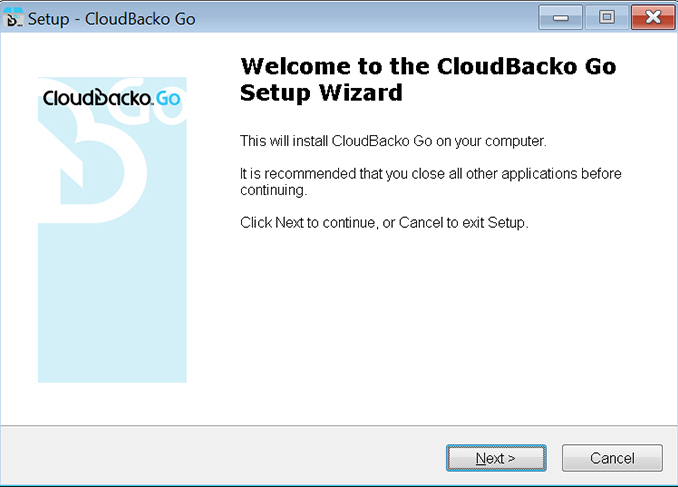
Click [Next] to continue
-
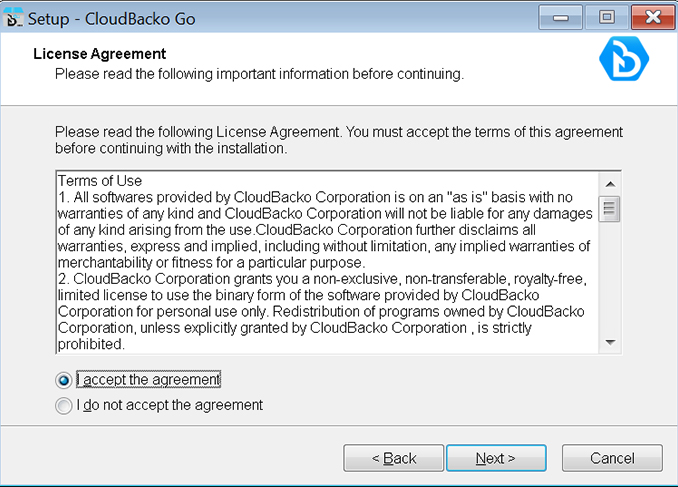
Select option [I accept the agreement] and click [Next] to continue.
-
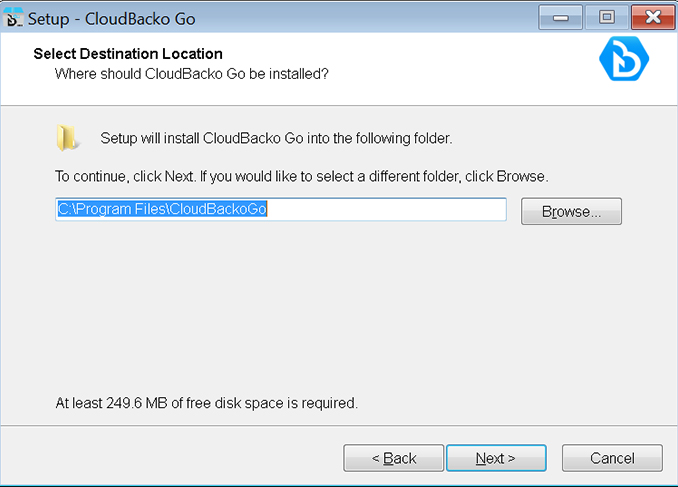
Use the default setting. Click [Next] to continue.
-
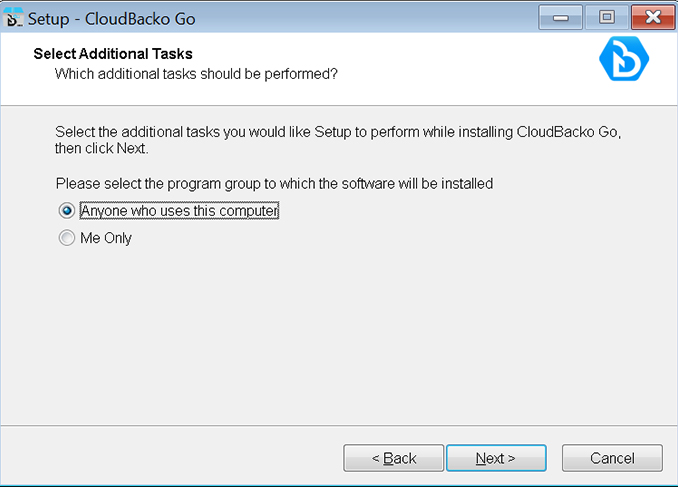
Use the default setting [Anyone who uses this computer]. Click [Next] to continue.
-
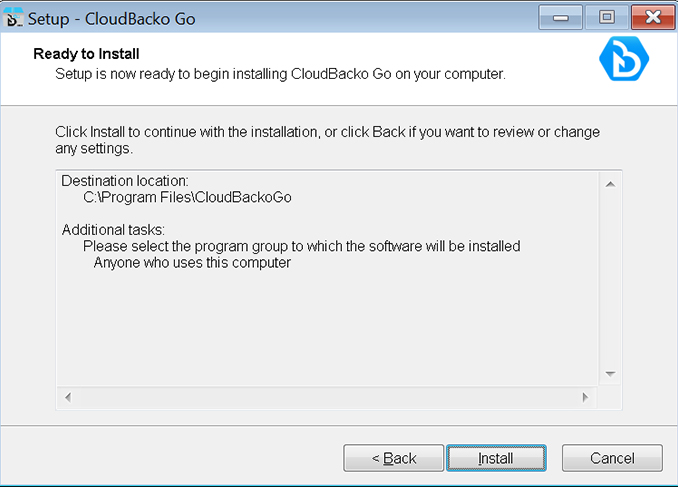
Click [Install] to continue.
-
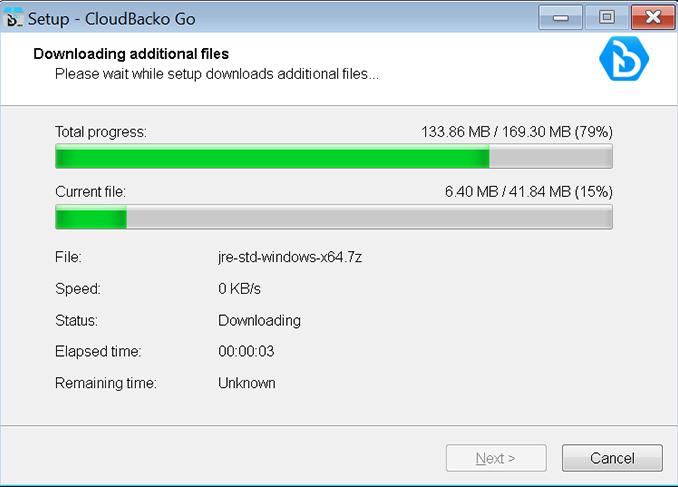
CloudBacko Go installation in progress. Depending on your internet connection, this could take a up to few minutes.
-
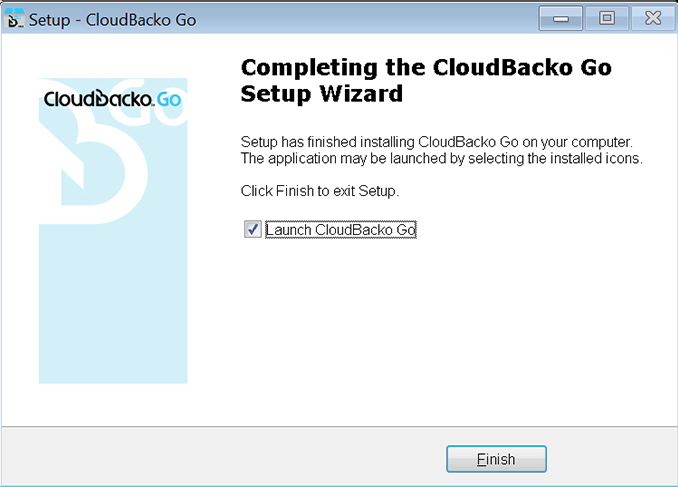
Installation completed! Click [Finish] to exit setup and start CloudBacko Go.
Install CloudBacko to macOS
-
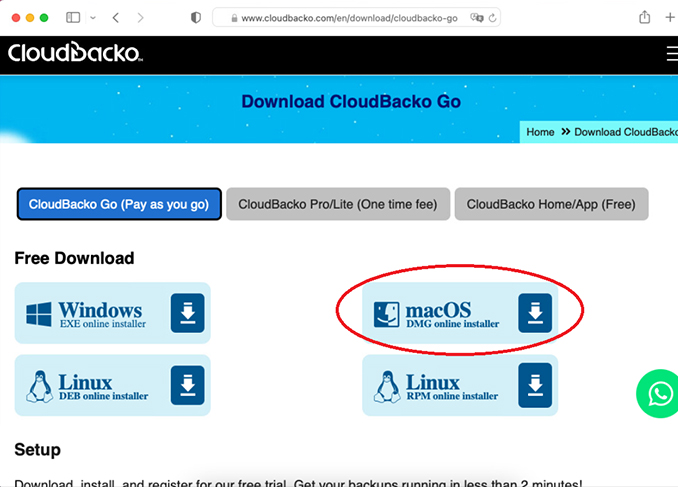
Click the "Download >>" button on top of this page and then click [macOS DMG online installer] to download the installation file.
-
Double click the DMG file.
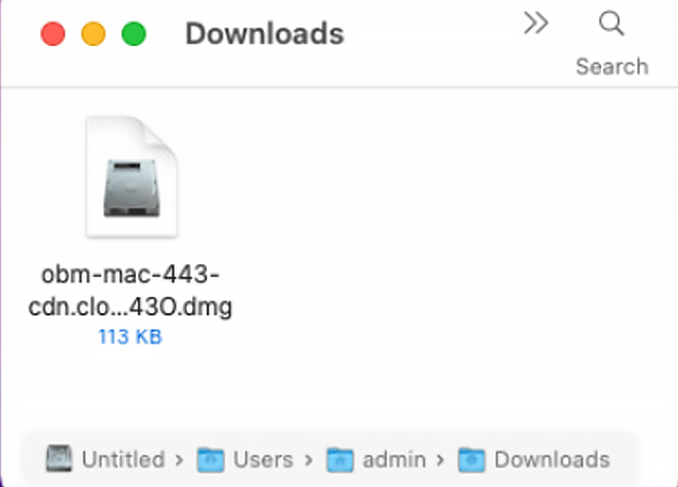
-
Double click the obm.pkg file.
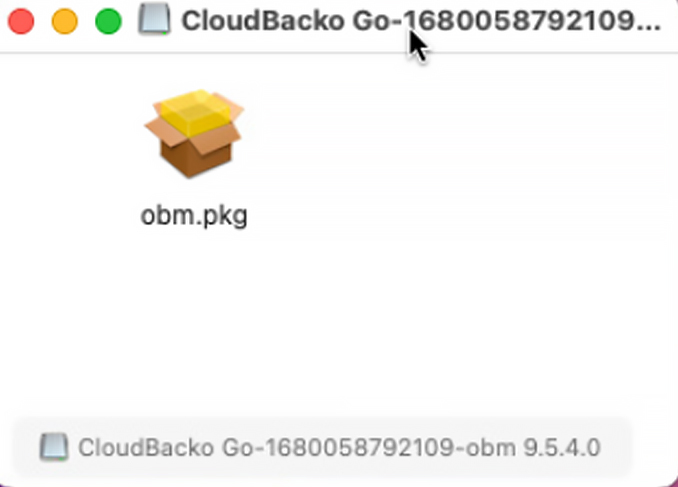
-
Click [Continue] on the 'Introduction' screen to proceed.
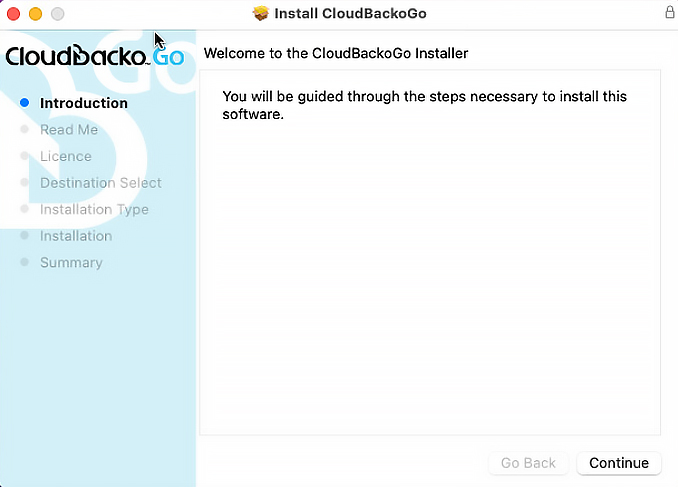
-
Click [Continue] on the 'Read Me' screen to proceed.
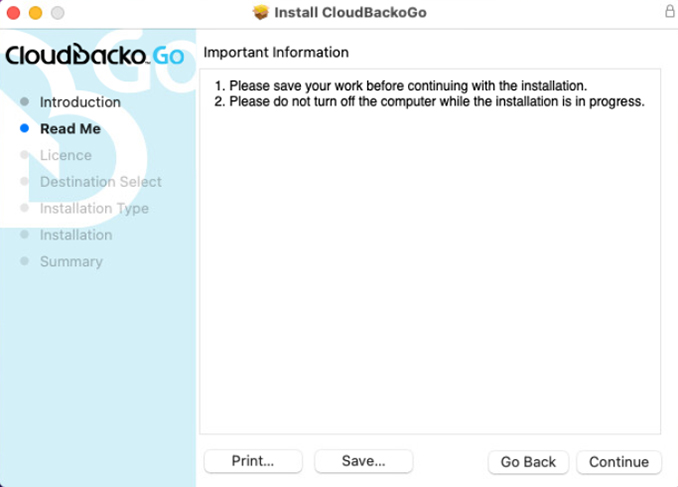
-
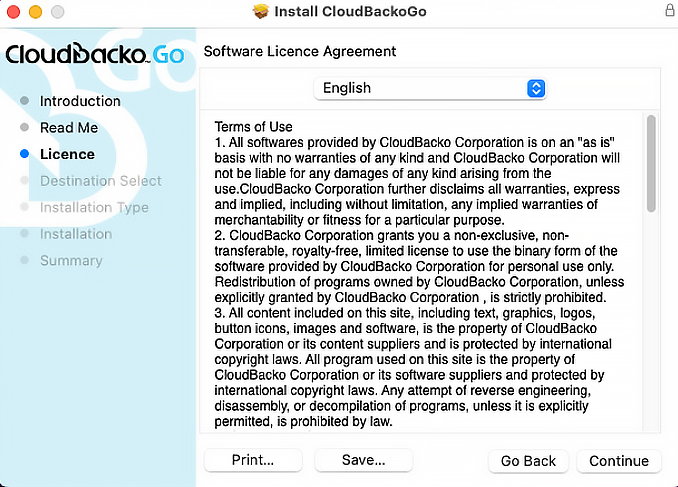
Click [Continue] on the 'License' screen to proceed.
-
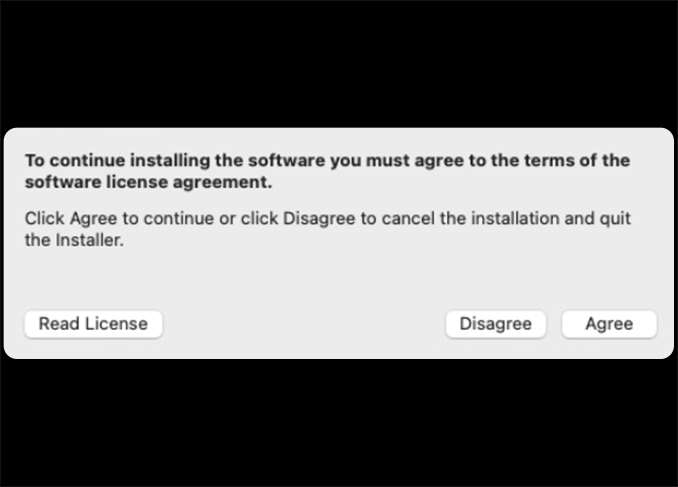
Click [Agree] to proceed.
-
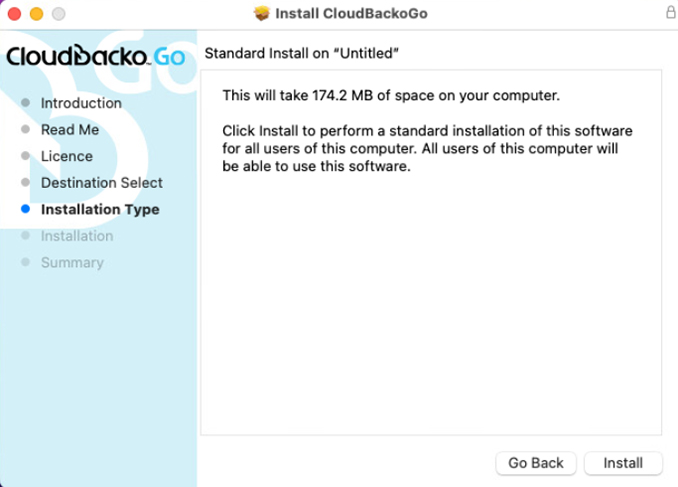
Click [Install] to proceed.
-
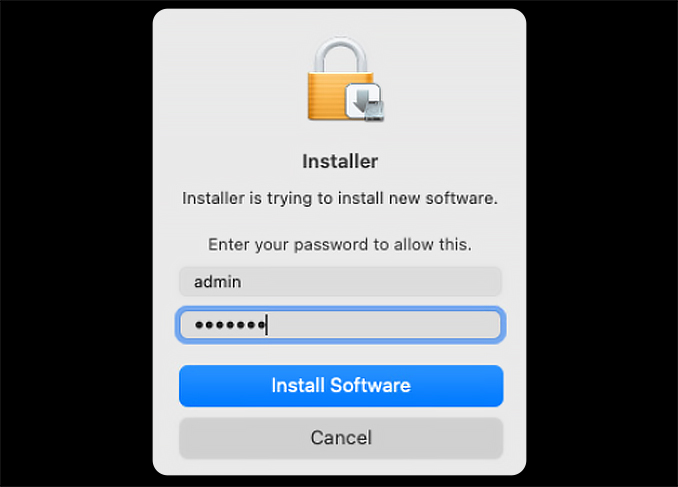
Enter your password and click [Install Software] to continue.
-
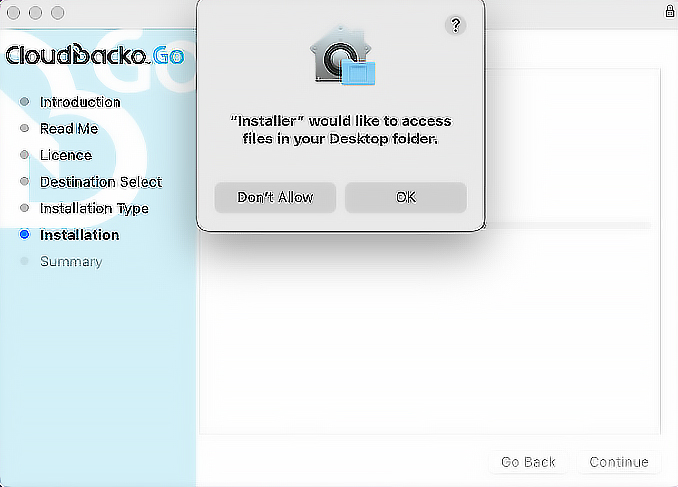
Click OK to continue. (This pop-up is only shown on macOS 10.15 or above)
-
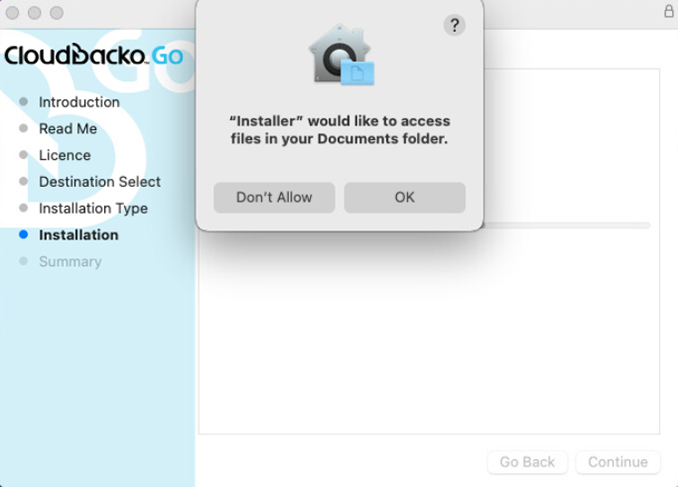
Click OK to continue. (This pop-up is only shown on macOS 10.15 or above)
-
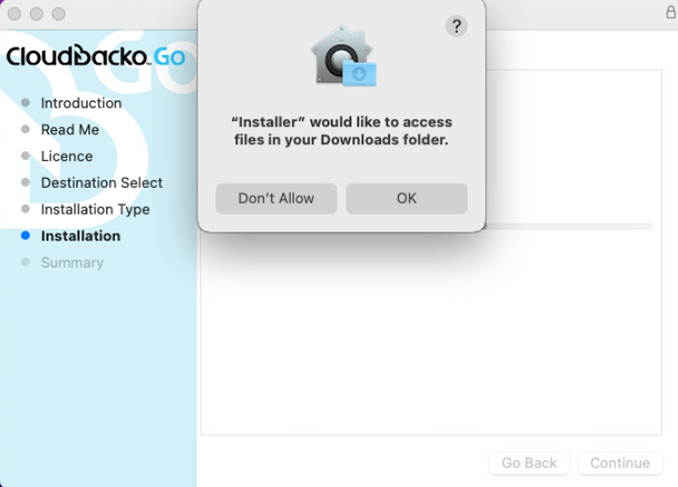
Click OK to continue. (This pop-up is only shown on macOS 10.15 or above)
-
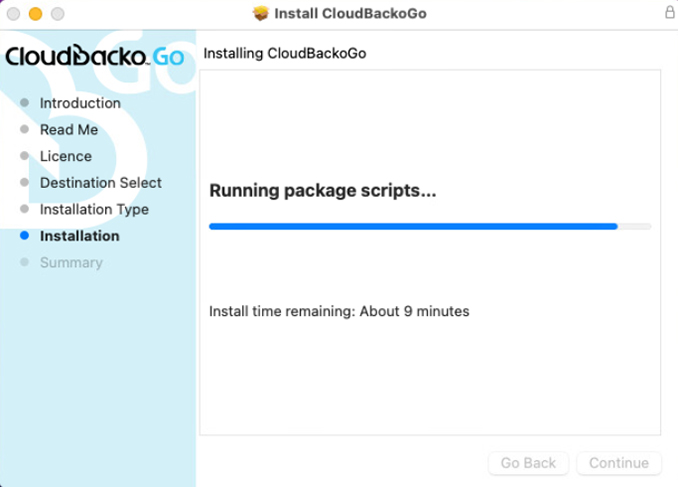
CloudBacko Go installation in progress. Depending on your internet connection this could take a few minutes.
-
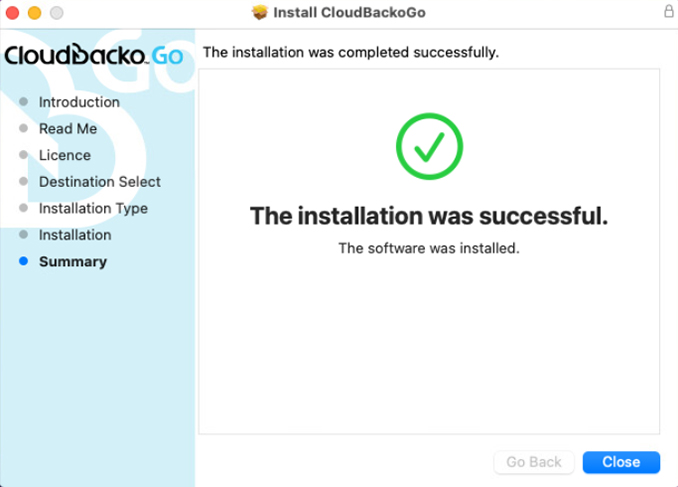
Installation completed. Click [Close] to exit setup.
Install CloudBacko to Linux by RPM
-
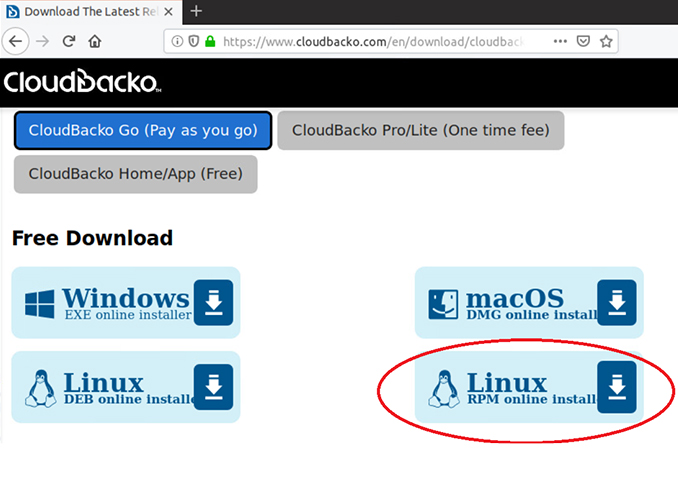
Click the "Download >>" button on top of this page and then click [Linux RPM online installer] to download the installation file.
-
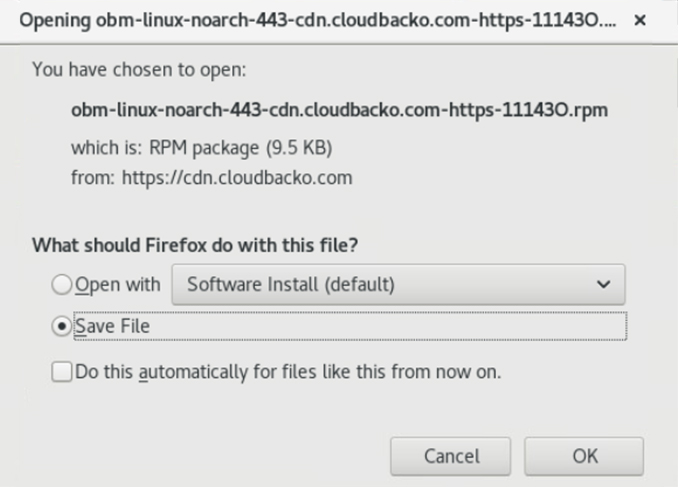
Select "Save File". Click [OK] to continue.
-
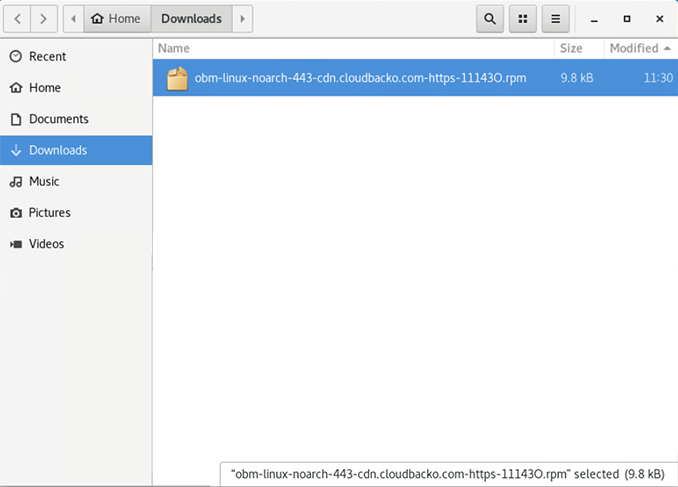
Double click on the [obm-linux-XXXXXX.rpm] installer file
-
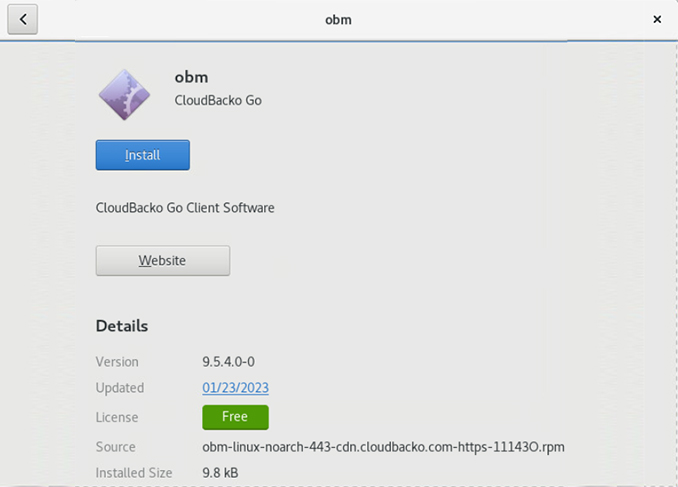
Click [Install] to proceed.
-
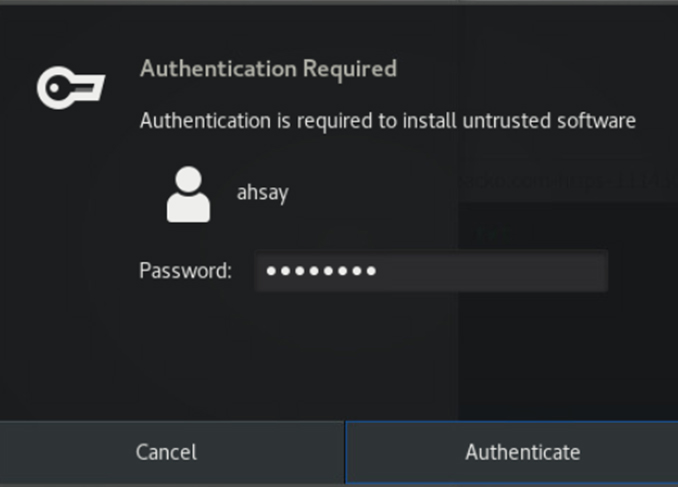
Enter your password. Click [Authenticate] to proceed.
-
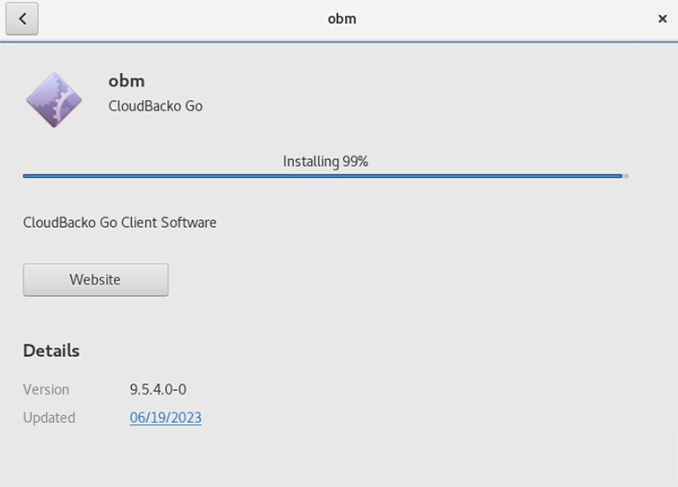
Installation in progress. Depending on your internet connection this could take a few minutes.
-
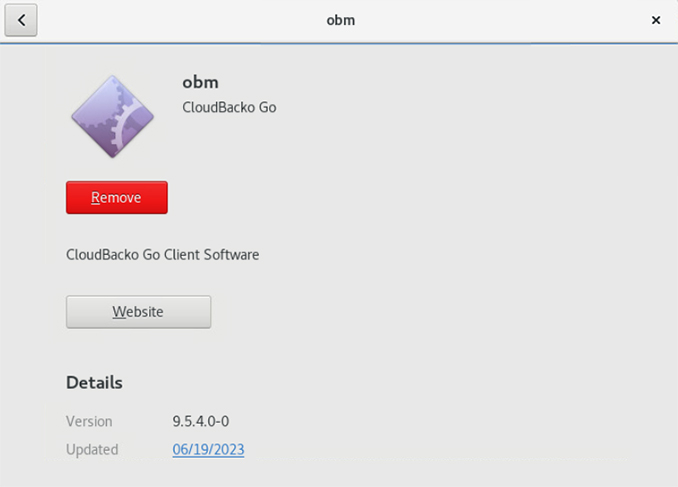
Installation completed.
-
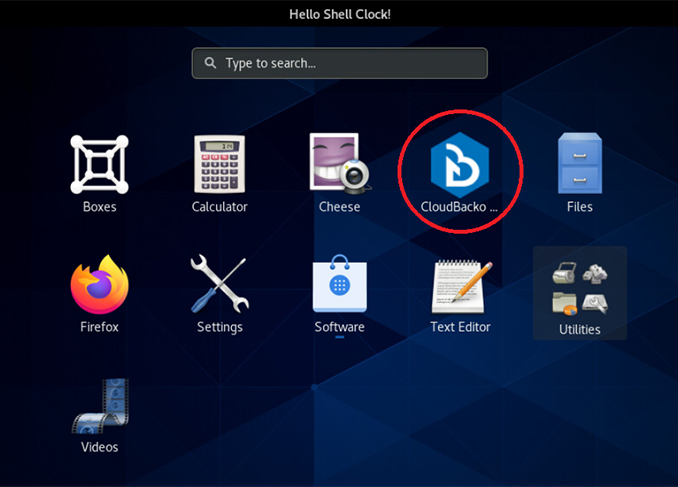
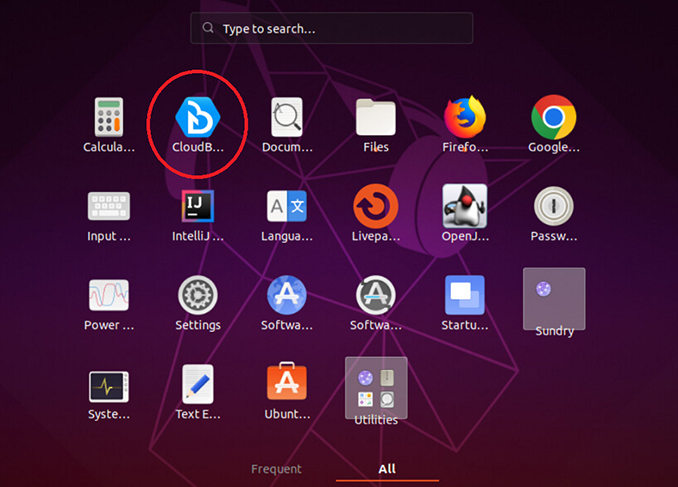
Locate CloudBacko in applications.
Install CloudBacko to Linux by DEB
-
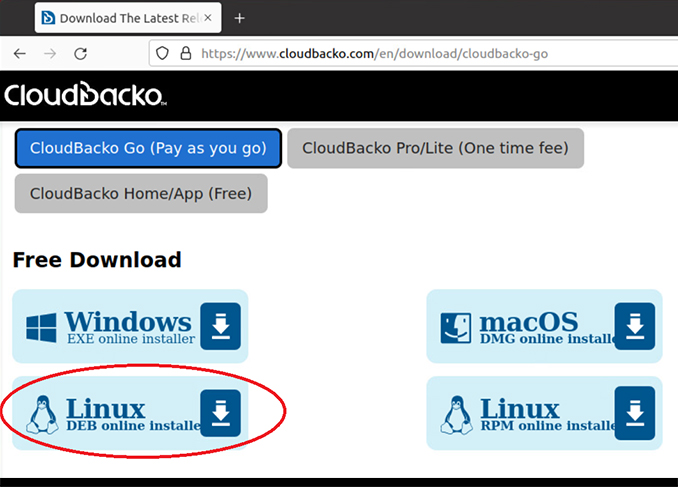
Click the "Download >>" button on top of this page and then click [Linux DEB online installer] to download the installation file.
-
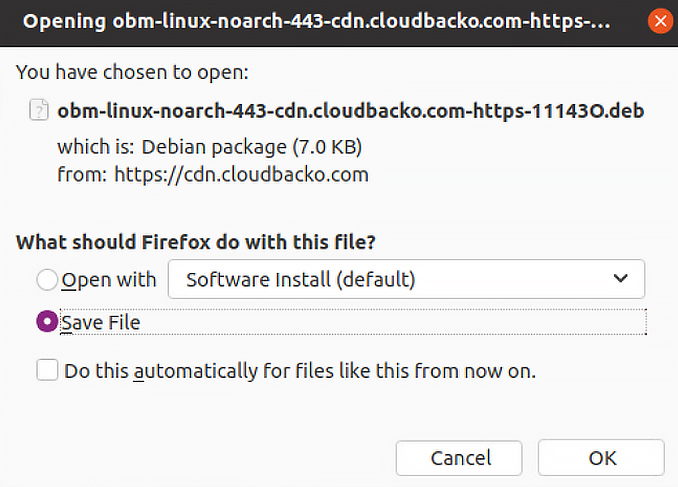
Select "Save File". Click [OK] to continue.
-
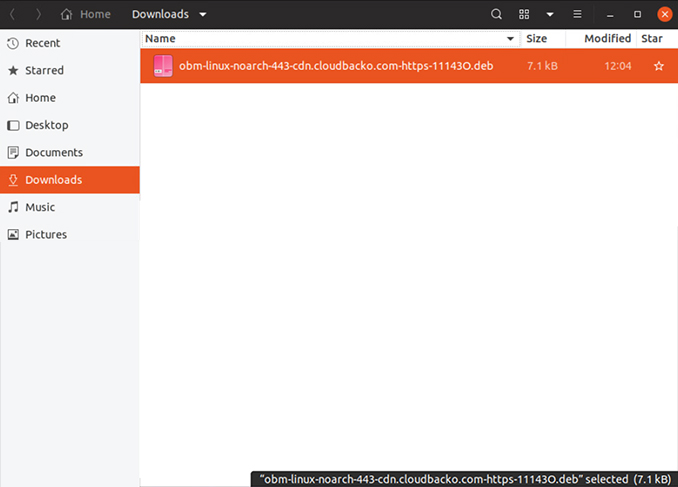
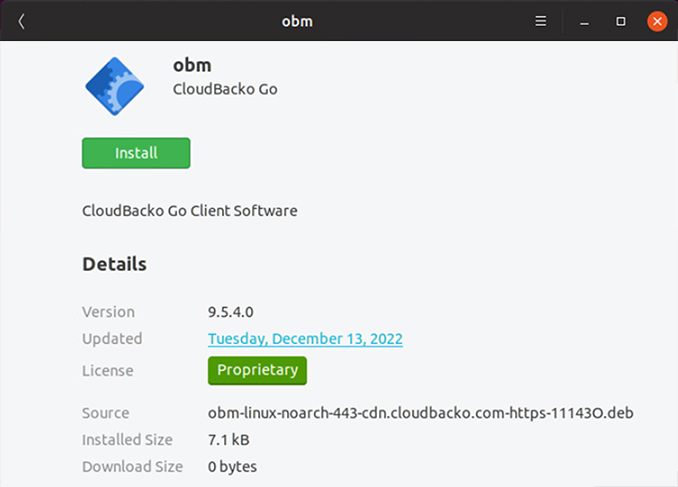
Double click on the [obm-linux-XXXXXX.deb] installer file.
-
Click [Install] to proceed.
-
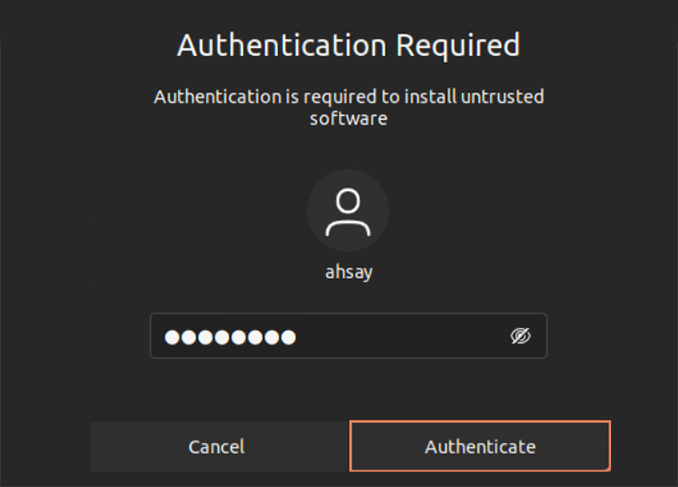
Enter your password. Click [Authenticate] to proceed.
-
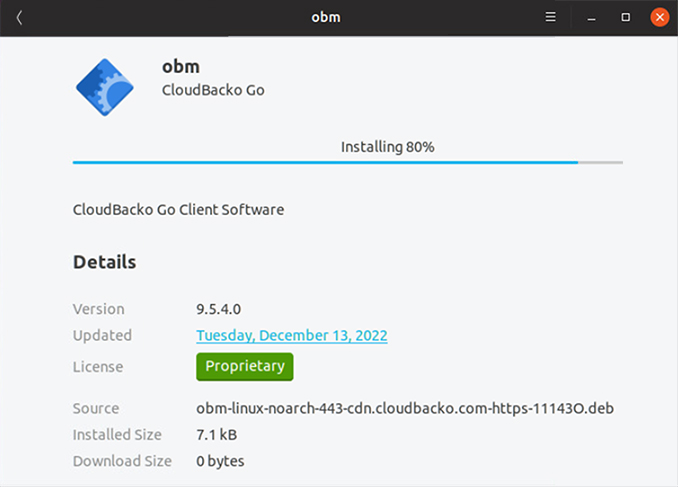
Installation in progress. Depending on your internet connection this could take up to a few minutes.
-
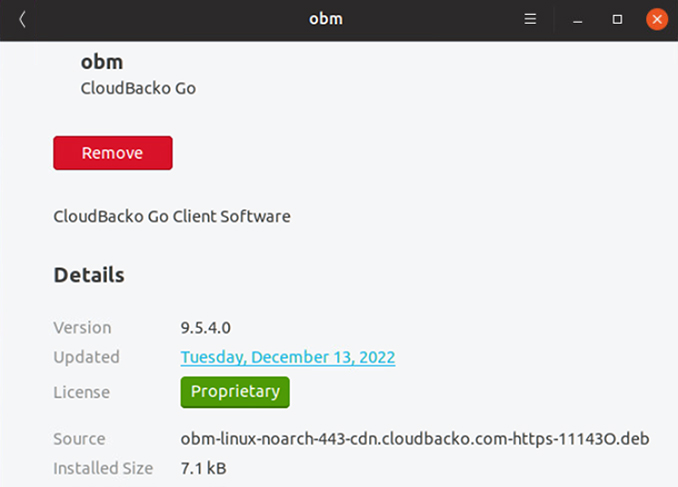
Installation completed.
-
Locate CloudBacko in applications.
Install CloudBacko to QNAP NAS (via App Center)
Requirement: QTS 5.1.0 or above
-
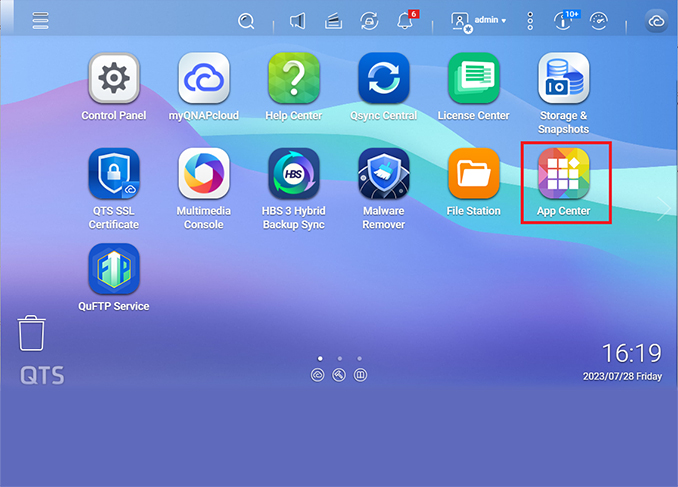
Logon to the QNAP NAS web admin console. Click on the App Center icon.
-
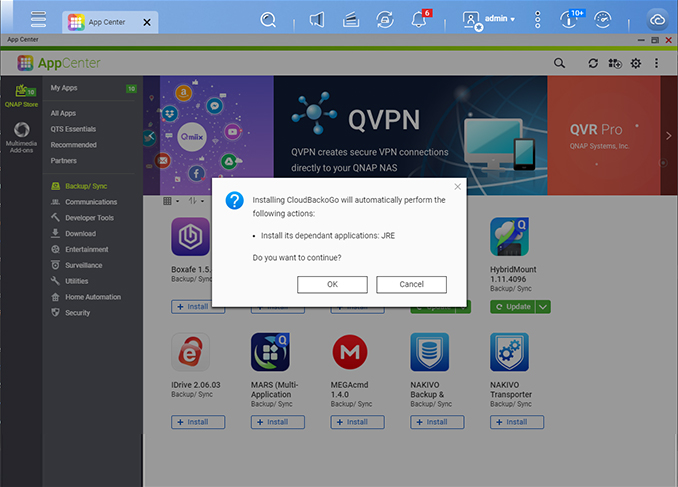
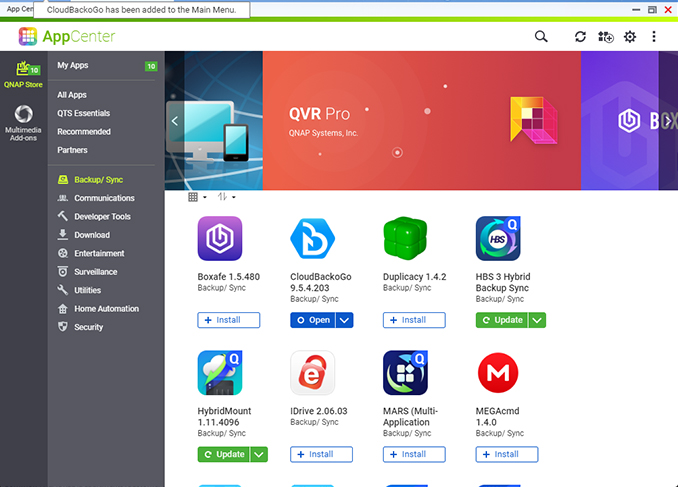
In the App Center select Backup/Sync option. Locate the CloudBackoGo icon, click Install to continue.

-
Click OK to continue.
-
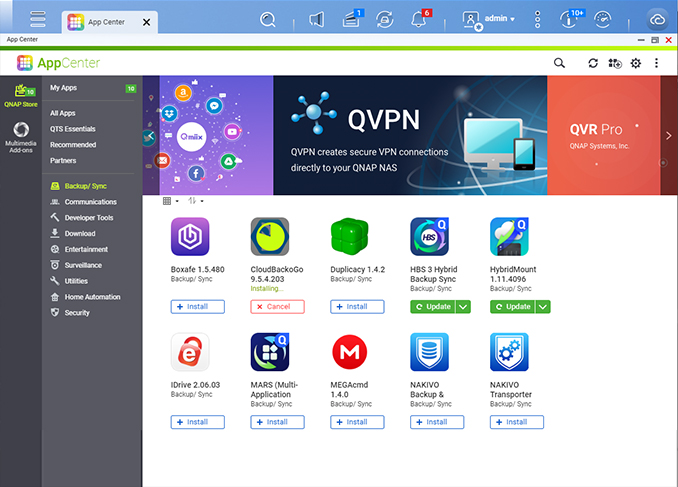
Installation in progress. Depending on your internet connection this could take a few minutes.
-
Installation completed. Click Open to start CloudBacko Go.
-
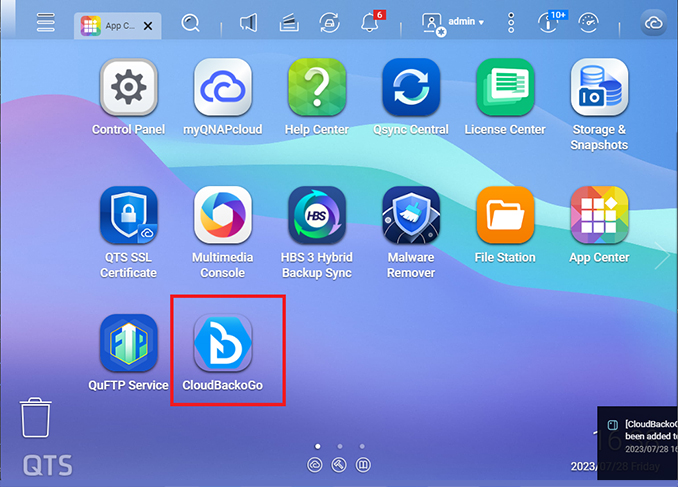
Alternatively, go to the QNAP web admin desktop. Click on the CloudBackoGo icon start CloudBacko Go.
